

Deploying an Application to Kubernetes on GCP - DevOps Project
Deploying a Node Application to GKE.


Table of contents
In this Blog Post, I will be showing you how you can deploy your Node application on Google Cloud using GKE (Google Kubernetes Engine) and GCR (Google Container Registry).
Pre-Requisites
Basic Knowledge of YAML, GCP, Docker and Kubernetes.
VSCode with GCP, Docker and Kubernetes extensions installed.
NodeJS must be installed in your local system.
Tech Stacks Used
NodeJs
Kubernetes
Docker
GCP
Steps 🪜
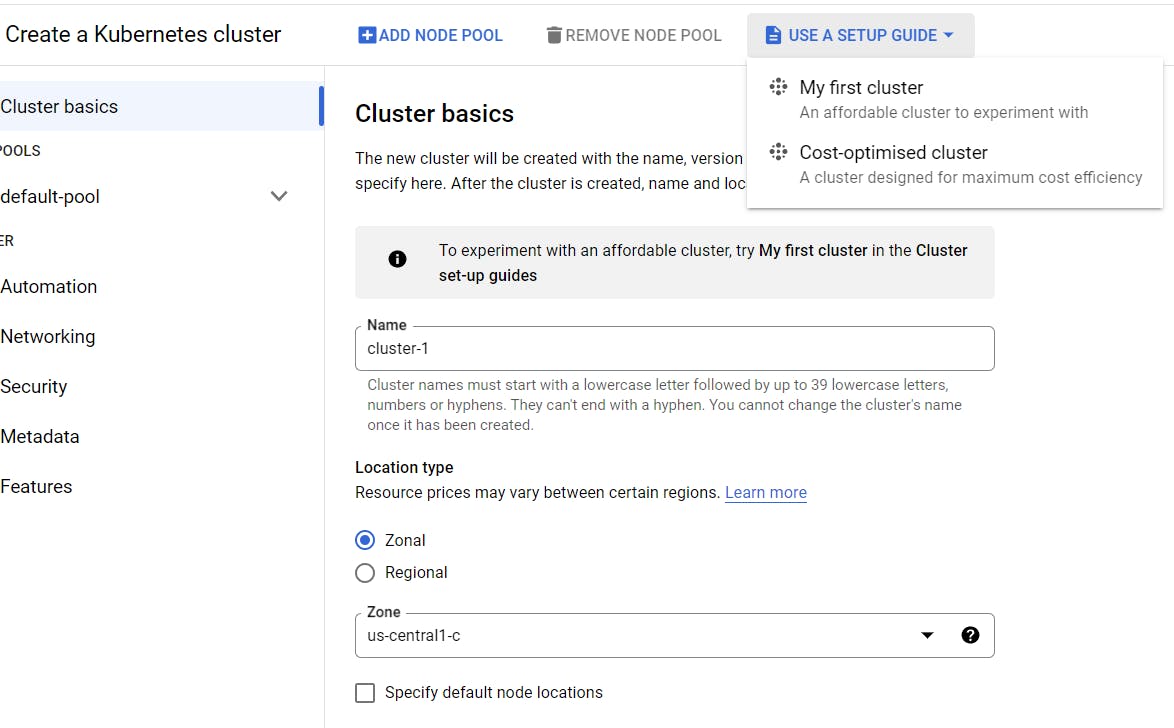
1. Create a Kubernetes Cluster
We will create a standard cluster with my-first-cluster option in the Kubernetes Navigation Panel.
2. Build the app
While the cluster is building, we will create our Node js application
Make a new directory, you can name it
nodeappand open VSCode here.Initialize npm in the terminal.
npm init -yInstall Express
npm i expressCreate a new file
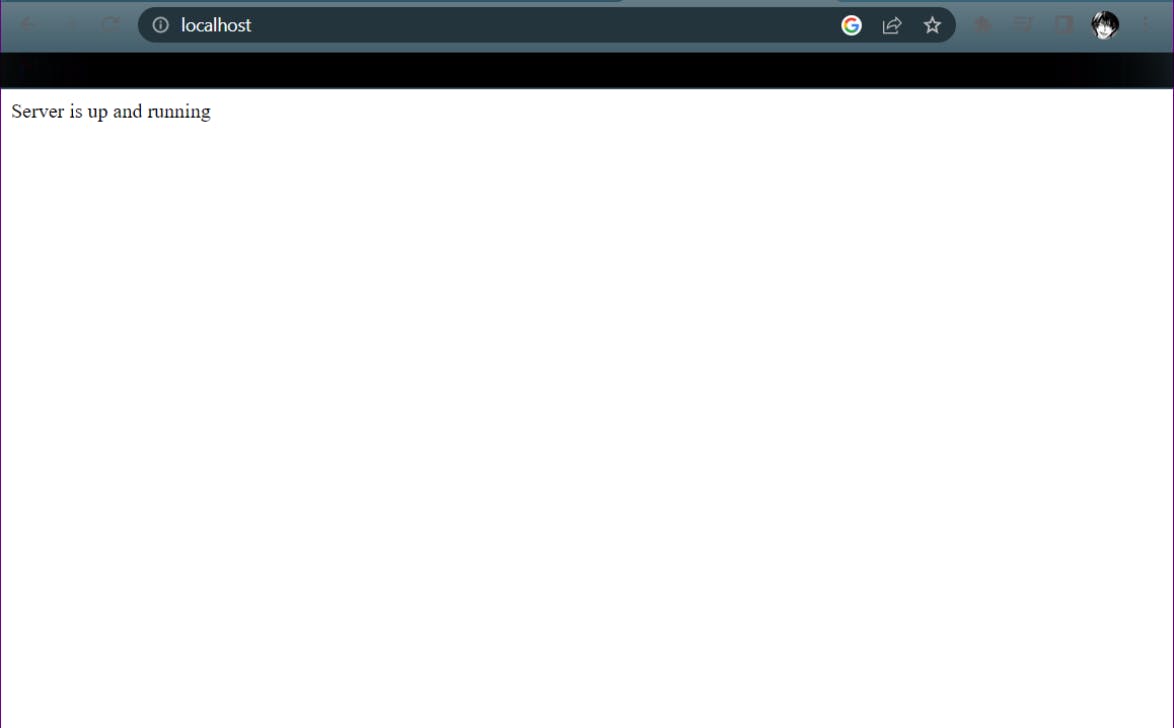
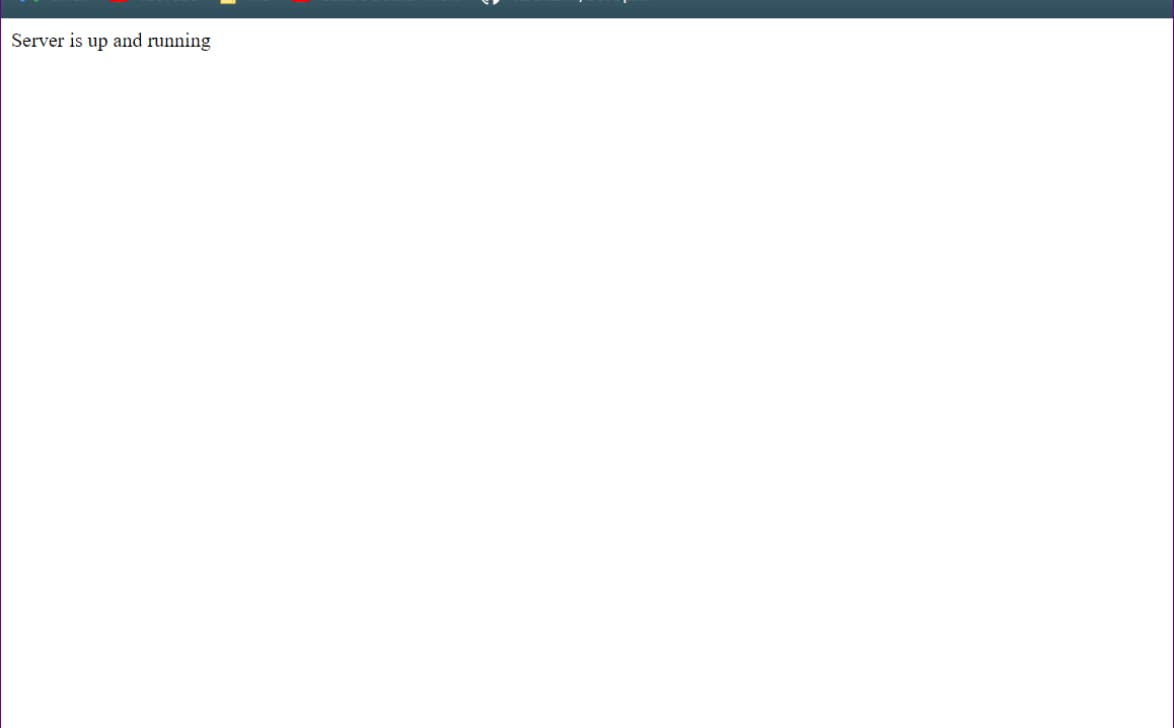
app.jsconst express = require("express") const app = express(); app.get("/", (req, res)=>{ res.send("Server is up and running") }) app.listen(80, ()=>{ console.log("Server is up") })Run the JS file
node app.jsCheck if the server is running on localhost or not.
3. Authorizing into GCP
Login into GCP using the command
gcloud auth loginEnable Docker
gcloud auth configure-docker
4. Building the Dockerfile and Pushing it to GCP
- Create a new file and Name it
Dockerfile{With No Extensions}
FROM --platform=arm64 node:14

WORKDIR /usr/app

COPY package.json .

RUN npm install

COPY . .

EXPOSE 80

CMD ["node", "app.js"]
Build the Image
docker build -t us.gcr.io/<PROJECT_ID>/nodeapp:v1 .Replace the
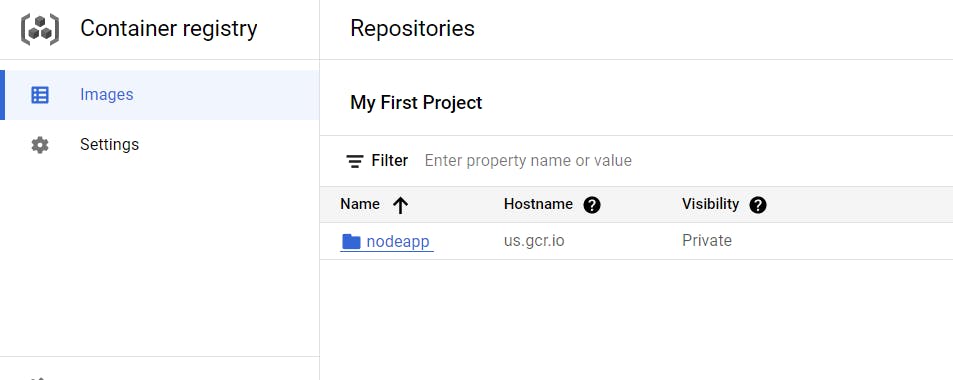
<PROJECT_ID>with your ID that you can find by clicking on it.Push the image to GCP
docker push us.gcr.io/<PROJECT_ID>/nodeapp:v1
5. Creating the Configuration Files
Make a new directory named
K8sand cd into it.Write Kubernetes manifest file
deployment.ymlfor deployment.
apiVersion: apps/v1

kind: Deployment
metadata:
  name: nodeappdeployment
  labels:
    type: backend
    app: nodeapp
spec:
  replicas: 1
  selector:
    matchLabels:
      type: backend
      app: nodeapp
  template:
    metadata:
      name: nodeapppod
      labels:
        type: backend
        app: nodeapp
    spec:
      containers:
        - name: nodeappcontainer
          image: us.gcr.io/macro-spider-376408/nodeapp:v1
          ports:
            - containerPort: 80
- Write Kubernetes manifest file
service.ymlfor service.
apiVersion: v1
kind: Service
metadata:
  name: nodeapp-load-balancer-service
spec:
  type: LoadBalancer
  ports:
    - port: 80
      targetPort: 80
  selector:
    type: backend
    app: nodeapp
6. Connecting the Cluster to the image and applying the manifest files.
Apply manifest file to create deployment
kubectl apply -f deploy.ymlCheck the status of the deployment.
kubectl get deployApply manifest file to create load balancer service.
kubectl apply -f service.ymlCheck the status of service.
kubectl get svcCopy the external IP and paste it into your browser, You should see the same things you did on the localhost at the start of this tutorial.
Source Code🧑💻
If you want to check my repository out, you can do so by clicking on the following link. Also, Star the Repository while you are at it🙃.
Repository - All the Source Code
Conclusion😊
That was it, You just created a docker image of a Node App and deployed it to the Google Kubernetes Engine. BE PROUD OF YOURSELF !!!
If you found this Project interesting, then please like this blog and Star my Repository on GitHub.
Special thanks to Tushar Rajpoot on YouTube.